Teams User Guide - Check and Register Your Microsoft Account
Check and Register Your Microsoft Account
If you logged in to Teams with a Microsoft account, you already know it. If you logged in with a Skype name, you may not know your Microsoft account — or may not have one at all.
This guide covers how to check, register, and create a Microsoft account.
Check Your Microsoft Account
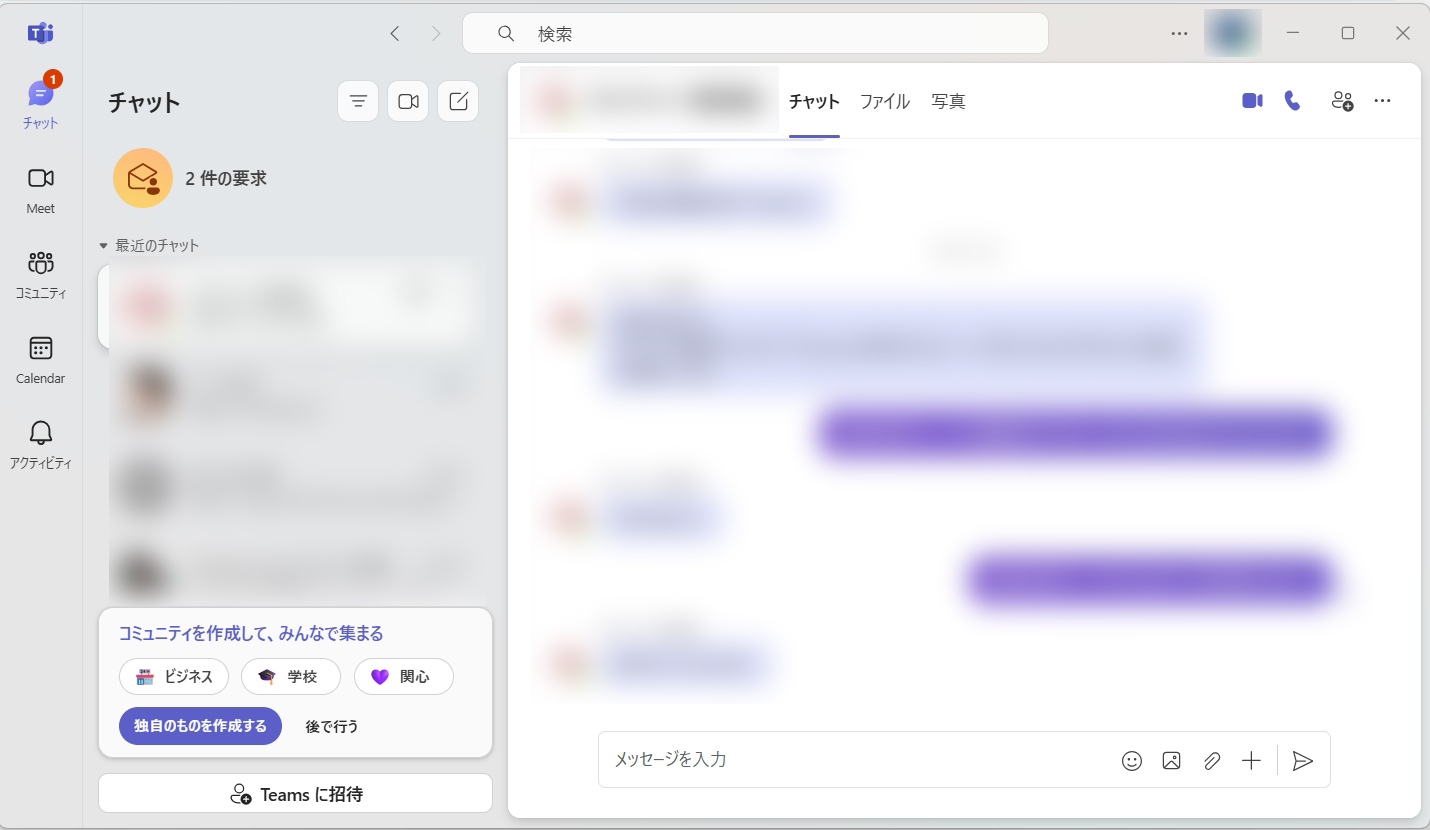
Open Teams and log in. Click "..." to the left of your profile icon at the top right, then click "Settings" at the top of the menu.

In the left menu, click "Accounts and orgs".
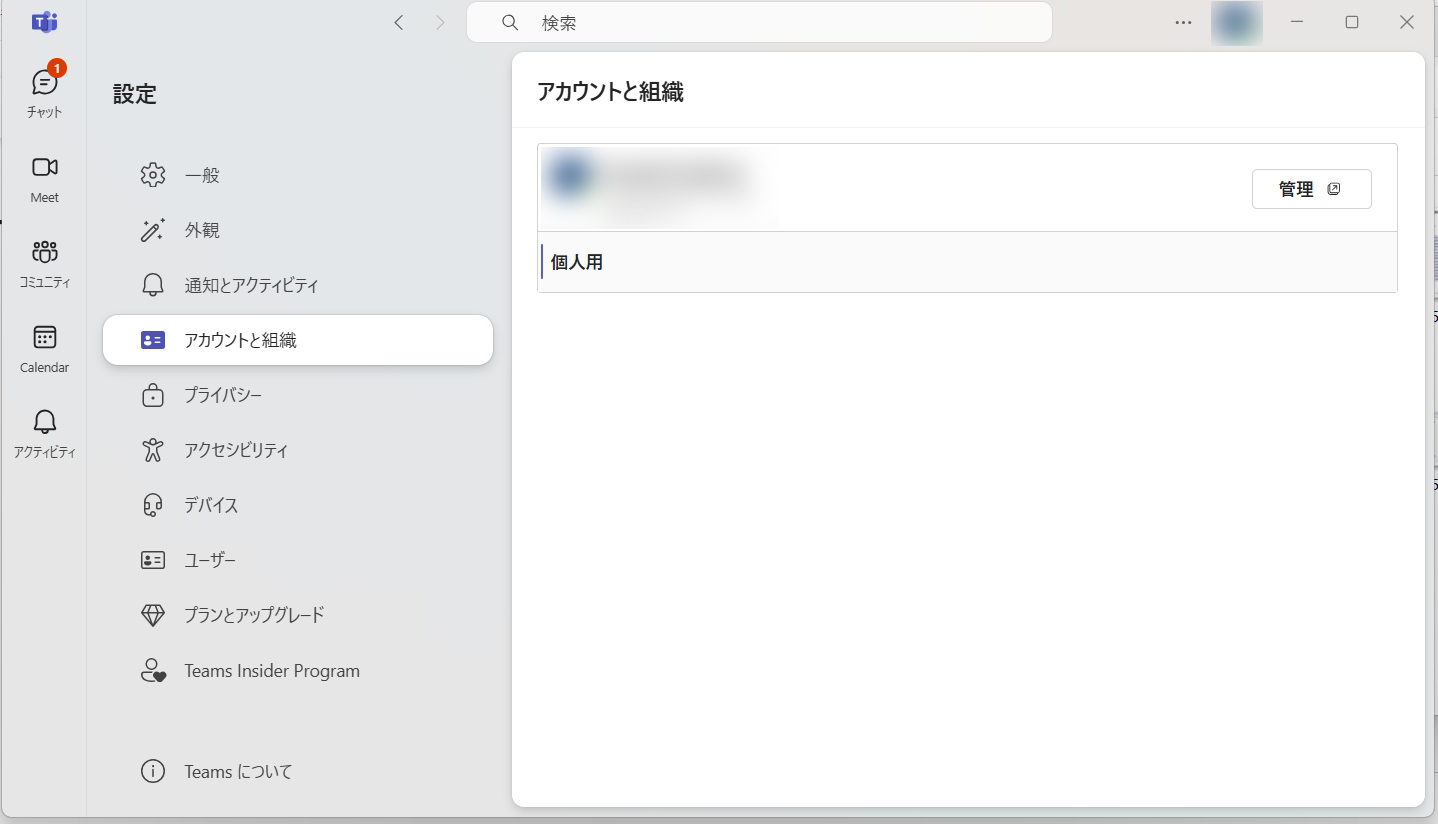
Your account appears on the right. Click "Manage".
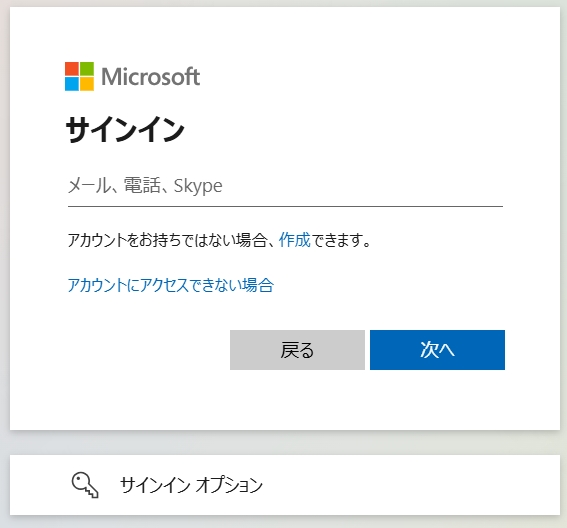
The Microsoft account page will open in your browser. Sign in. Use the same account and password you use for Teams.

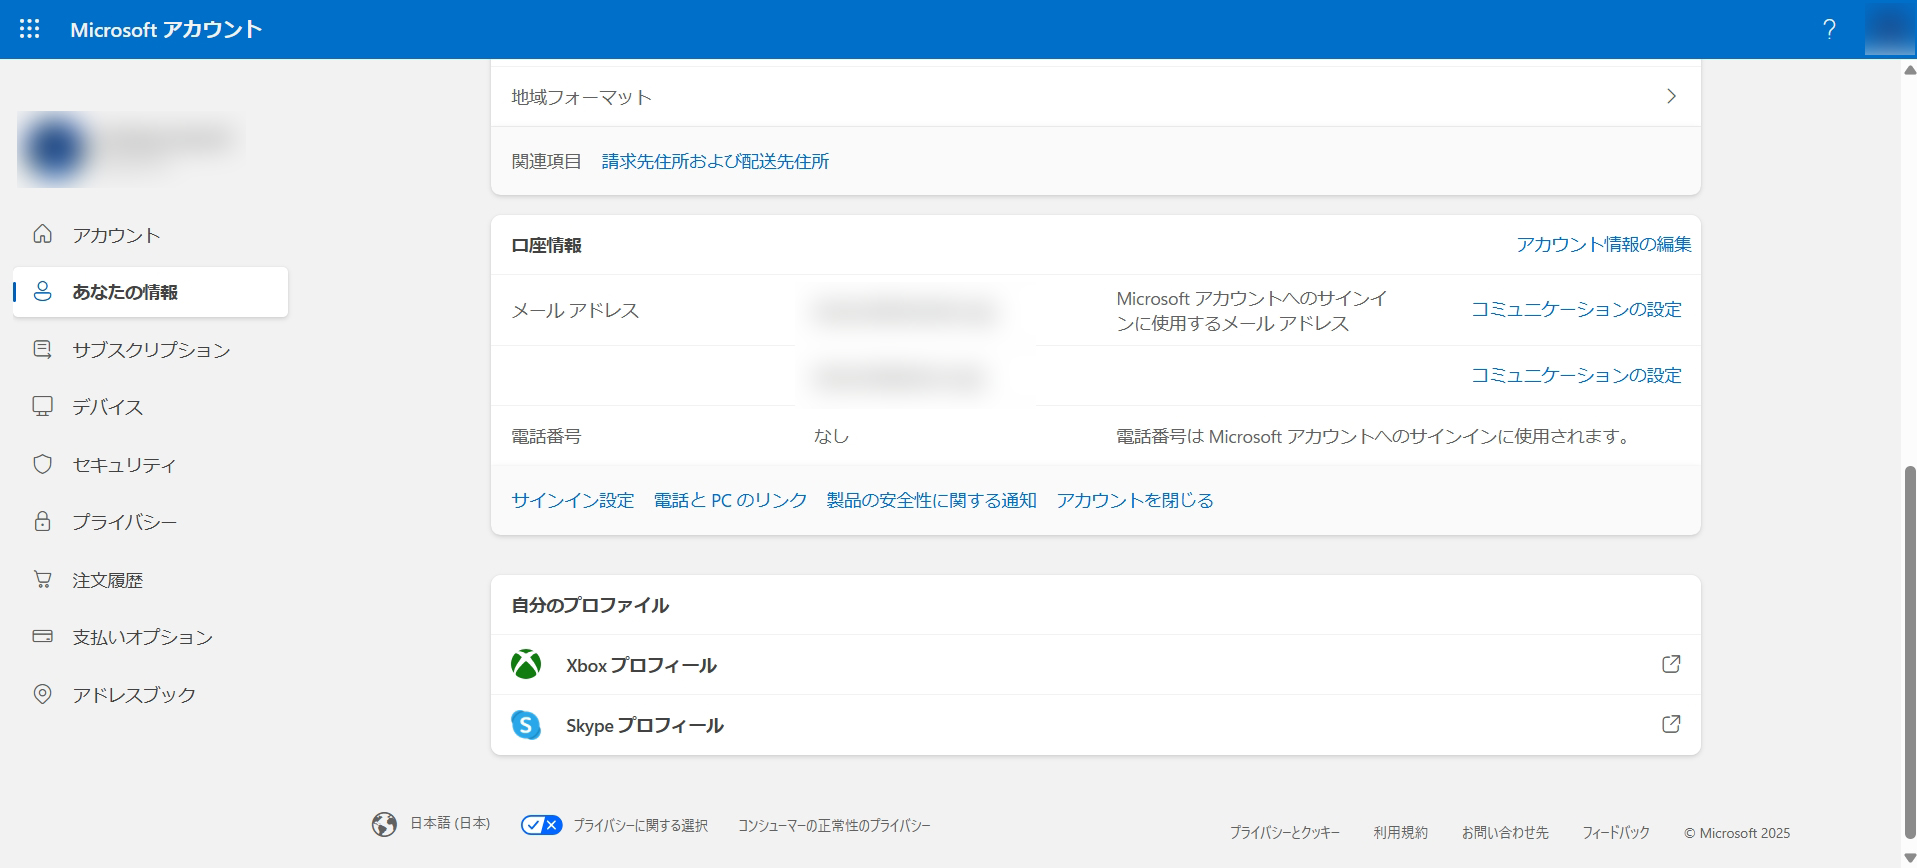
Log in to the Microsoft account page, then click "Your info" in the left menu.
On the "Your info" page, check the email address under "Account info". This is your Microsoft account.
Once confirmed, go to Step 4: Register your Microsoft account on NetChai.
Your tutor needs this to contact you — please register it.
Step 4: Register your Microsoft account on NetChai
* If you have multiple email addresses, the one at the top is your primary login address.
If no email is shown under "Account info", you have no Microsoft account linked. You need to create a new Microsoft account. Proceed to "Create a New Microsoft Account" below.
Create a New Microsoft Account
Click "Edit account info" on the right side of the "Account info" section.

On the "Manage how you sign in to Microsoft" page, click "Add email".
On the "Add an alias" page, enter your desired Microsoft account address in the "Create a new email address and add it as an alias" field.
Enter any text before "@" and choose either domain after it. If you have no preference, use your Skype name before "@" and "outlook.jp" after.
Once you have confirmed your Microsoft account, proceed to Step 4: Register it on NetChai.
Your tutor needs this to contact you — please register it.
Step 4: Register your Microsoft account on NetChai
